Using a robot vacuum on multiple floors is simple: move it between levels, save a separate map for each floor, then start cleaning as usual. Most robot vacuums can’t climb stairs, but with the right setup they can still handle an entire multi-level home.
In this guide, you’ll first see whether robot vacuums can clean multiple floors in one home, then how to set up your robot vacuum before the first multi-floor clean. We’ll walk through step-by-step use on multiple floors, how to keep cleaning efficient on every floor with maps, no-go zones and schedules, and when you should add a robot vacuum dock on each level.
You’ll also learn when one robot vacuum for multiple floors is enough, when it’s worth having one per level, and how to fix common multi-floor problems like lost maps, failed docking or weak Wi-Fi. Finally, we’ll show how advanced robot vacuums such as Narwal make multi-floor cleaning even easier and more hands-free.
Can Robot Vacuums Clean Multiple Floors in One Home?
Yes, most modern robot vacuums can clean multiple floors in a home as long as you move them between levels. Robot vacuums use advanced mapping and navigation technology to create and store floor plans for each level of your home, allowing efficient cleaning on any floor. However, most robotic vacuum cleaners cannot climb stairs, so cleaning multiple floors in a multi-story house requires relocating the robot vacuum to each floor you wish to clean. This approach makes it possible to maintain spotless floors throughout larger homes with multiple levels, ensuring that every area benefits from automated cleaning.
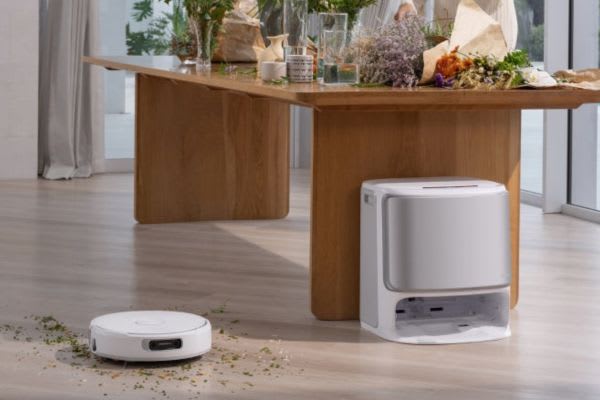
How to Set Up a Robot Vacuum Before the First Multi-Floor Clean
Don’t press ‘Start’ just yet. A quick setup makes a big difference. Before letting your robot vacuum loose on multiple floors, take a few minutes to prep—this ensures better mapping, smoother navigation, and cleaner results.
Here’s what to do before the first clean on any floor:
- Clear the floor: Pick up cords, small rugs, toys, and low-hanging drapes that could trip the robot or block mapping.
- Close doors to unused rooms: This keeps the map focused only on areas you want cleaned.
- Ensure strong Wi-Fi: Multi-floor cleaning needs stable signal for app control and mapping. If needed, consider a mesh system.
- Place the dock on a hard, open surface: Leave at least 1.5 feet of clearance on both sides and in front.
- Switch to mapping mode (if supported): Some vacuums require mapping to be done separately before cleaning. Check the app.
- Let it explore uninterrupted: Avoid moving furniture or stopping the robot during its first run—this helps it learn the layout accurately.
This one-time prep helps your vacuum clean smarter—not harder. For multi-floor homes, repeat these steps on each level to build accurate maps and efficient routines.
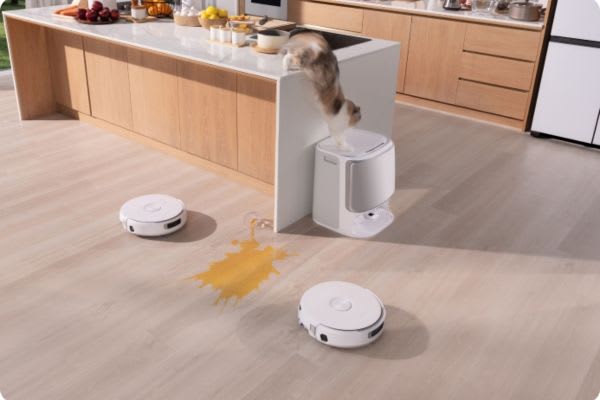
Step-by-Step: How to Use a Robot Vacuum on Multiple Floors
Want to use one robot vacuum across multiple floors? You can—but it’s not fully automatic. Since robot vacuums can’t climb stairs, you’ll need to move the device manually between levels. To make this work smoothly, you’ll need the right model, saved maps for each floor, and a few setup tips. This section shows you exactly how to run your vacuum on every floor without losing maps or missing spots.
1. Start on Floor One
Before cleaning, place the robot and its dock on your first floor. Let it complete a full clean and return to charge. Most modern models will save this map automatically, especially if you start the session via the app.
If your vacuum supports multi-floor mapping, be sure to name the map clearly after the session finishes.
2. Move to the Next Floor
Once the first floor is done:
- Turn off or pause the robot.
- Carry the vacuum (and the dock, if needed) to the second floor.
- Place it in an open area for better navigation.
Some users choose to leave the dock on the main floor. That’s fine—just make sure the battery is charged enough for a full session before cleaning the next level.
3. Select the Correct Map
Open your vacuum’s app. If it supports multi-floor maps, you’ll see the option to switch to the correct map before starting a new clean. This tells the robot exactly where it is and how to move.
Skipping this step may cause navigation errors—like missing rooms or failing to return.
4. Let It Clean
Once the right map is selected, press “Clean” and let it do its job. Don't interrupt or pick up the robot mid-clean, as that can confuse its positioning.
If your model supports real-time recognition or auto-switching, even better—it will adapt on its own.
5. Repeat as Needed
For homes with 3+ floors, just repeat the same process. Move the robot, pick the right map, and let it clean. There's no need to remap each time once you've saved each floor.
Pro tip: To save time, clean one floor per day instead of moving it around constantly.
6. Charging Between Floors
If you don’t have a dock on every floor:
- Return the robot to its main dock when done.
- Charge fully before next use.
If your vacuum supports multiple docks, placing one on each floor makes everything easier—and fully hands-free.
In short: Multi-floor cleaning doesn’t require extra equipment—just smart map management and a simple routine. With the right steps, one robot can keep your entire home clean, upstairs and down.
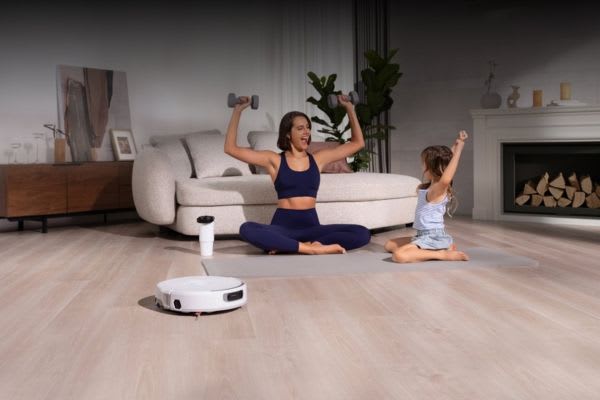
How to Keep a Robot Vacuum Cleaning Efficient on Every Floor
Setting up maps is just the beginning. To truly keep every floor clean with less effort, you need smart routines—not just smart tech. Here’s how to make multi-floor cleaning smooth, consistent, and hands-off.
Build a Cleaning Schedule by Floor
Set different schedules for each floor based on use. For example, clean the main floor daily, upstairs every other day, and the basement weekly. Most robot vacuums with multi-map support let you assign routines to each level through the app.
Consistent scheduling = consistent cleanliness—without needing to remember which floor is next.
Always Load the Correct Map
When moving your robot to a new floor, manually select the matching map in the app before you start cleaning. If your vacuum supports automatic map switching, check that this is turned on—it can save time and avoid cleaning errors.
Define No-Go Zones Per Floor
Each level may have different furniture, hazards, or pet areas. Use the app to mark no-go zones and room dividers per floor. This avoids mistakes like the vacuum bumping into stairs or mopping the wrong surface.
Keep Floor-Specific Docks (If Possible)
Having a dock on each floor means your robot can recharge and restart automatically. If you only use one dock, make sure to bring it along each time—or the robot won’t know where to return.
Don’t Skip Maintenance
Clogged brushes or dirty sensors will slow things down or confuse navigation. Clean the brush roll and sensors every 1–2 weeks, especially if you use the vacuum across floors with different debris types.
Multi-floor cleaning isn’t just about setup—it’s about using your robot the smart way, every day. With scheduled cleaning, accurate maps, and a few habits, you’ll keep every level spotless with almost zero effort.
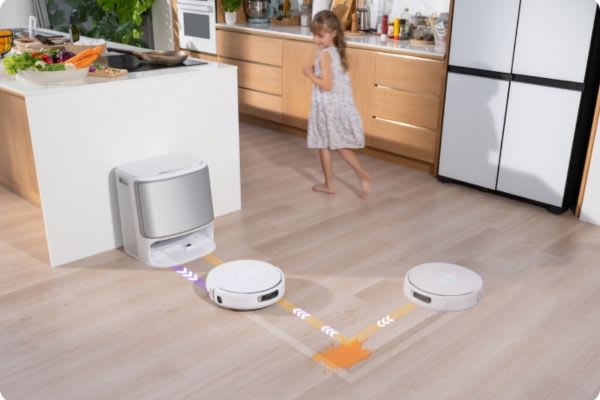
Should You Set Up a Robot Vacuum Dock on Every Floor?
Not always, but it makes multi-floor cleaning much smoother. If your robot vacuum supports multi-floor mapping, it doesn't need a dock on every level to work. You can move the vacuum and its base between floors manually. But this can interrupt cleaning routines and lead to missed recharge cycles.
Here's how to decide what's best for your home:
If You Use One Dock Only
- You’ll need to move both the robot and dock between floors.
- Cleaning sessions must finish before battery runs low, or the robot won't return to charge.
- You lose hands-free convenience, especially in large homes.
If You Add Docks to Each Floor
- The robot can start and return to its dock independently on each level.
- You get fully automated cleaning—no moving accessories around.
- It works better for scheduled cleanings or larger square footage per floor.
Our Tip:
If each floor takes more than 30 minutes to clean—or if you're away often—setting up a dock on every floor saves time and effort. Some models support multiple docks automatically; others let you switch manually in the app.
Docking strategy affects how truly ‘hands-free’ your robot vacuum is. For true automation across levels, one dock per floor is the best setup.
One Robot Vacuum for Multiple Floors or One per Level?
One robot can clean multiple floors—but two is more efficient. If your home has 2+ levels and each floor is used daily, relying on just one robot vacuum means you’ll be moving it often. That’s fine for occasional use, but not ideal for daily automation.
Here’s how to decide:
Use One Robot for All Floors If:
- You don’t mind carrying the vacuum between floors.
- Each floor is relatively small (under 1000 sq. ft).
- You’re okay with cleaning on a rotating schedule (e.g., upstairs on Mon, downstairs on Wed).
Get One Robot per Floor If:
- Your home is large, and each floor needs daily cleaning.
- You want to automate schedules independently.
- You have different floor types or layouts that need unique cleaning modes.
Bottom line:One robot = cheaper but hands-on.One per floor = costly but fully automatic. It comes down to how much effort you want to spend managing your cleaning.
Troubleshooting Common Robot Vacuum Multi-Floor Problems
Even with the right setup, multi-floor cleaning can run into snags. If your robot vacuum seems confused, misses spots, or fails to clean one of your floors, you’re not alone. Here’s how to fix the most common issues—fast.
1. Map Confusion After Switching Floors
If your robot gets lost or cleans the wrong areas after you move it:
- Manually select the correct map in the app before starting the clean.
- Make sure your robot is fully loaded and save the map for each floor.
- If it keeps forgetting layouts, try resetting and remapping each floor from scratch.
2. Can't Return to Dock
If your robot finishes cleaning but doesn’t return to its base:
- It likely doesn’t know where the dock is.
- Always place the robot on the floor near its dock before cleaning.
- For best results, keep a dock on each level if your vacuum supports it.
3. Weak Wi-Fi on Certain Floors
Many mapping or remote control issues come from poor connectivity:
- Use a mesh Wi-Fi system or Wi-Fi extender to strengthen coverage.
- Without a stable signal, map switching or app controls may not work properly.
4. Stuck During Cleaning
If your vacuum gets stuck on cords, rugs, or under furniture:
- Use the app to set no-go zones on each map.
- Lift lightweight rugs or tuck in cables before cleaning.
5. Cleaning Stops Midway Due to Battery
If the vacuum dies before finishing a floor:
- Either reduce the cleaning zone (fewer rooms), or
- Place a charging dock on that floor, so it can recharge and resume.
Robot vacuums can clean multiple floors smoothly—but only when you help them avoid common traps. A few simple tweaks to how you move, map, and schedule can solve most issues for good.
Do Advanced Robot Vacuums Make Multi-Floor Cleaning Easier?
Yes, especially if you live in a multi-floor home. Choosing the best robot vacuum for multiple floor cleaning doesn’t just add convenience—it eliminates guesswork, reduces setup hassle, and prevents common cleaning errors seen with basic models.
[cta:narwal-flow-robot-vacuum-mop]
Smarter Mapping Without Repeating Work
High-end vacuums support multi-floor map saving, so you don’t need to remap every time you move between floors. Narwal Flow takes this a step further: when you move it to another floor, it auto-loads the correct map, adjusts settings for the surface type, and starts cleaning right away.
Better Navigation, Less Babysitting
Basic models often get stuck or lost. Narwal Flow’s dual RGB cameras and AI chip allow it to recognize over 200 object types—from chair legs to cables—with 0.19-inch accuracy. That means fewer interruptions and no unnecessary rescues.
Carpet-Specific Intelligence
Cleaning carpets across floors? Narwal Flow uses CarpetFocus Technology to automatically lower its brush cover and form a sealed airflow zone. The result? 182% more suction power and twice the dirt pickup compared to standard robots.
Real-Time Self-Cleaning Mops
Multi-floor cleaning means one thing: more mess. Narwal Flow uses a FlowWash system that scrubs its mop in real-time using 113°F warm water and 12N downward pressure—so each floor gets a clean mop, not recycled dirt.
Cross-Level Friendly Design
Forget the heavy lifting. Narwal Flow climbs 1.57-inch ledges, reaches tight corners, and slides under furniture with its 3.7-inch ultra-slim body. You don’t need to manually help it transition between thresholds or reposition it around furniture.
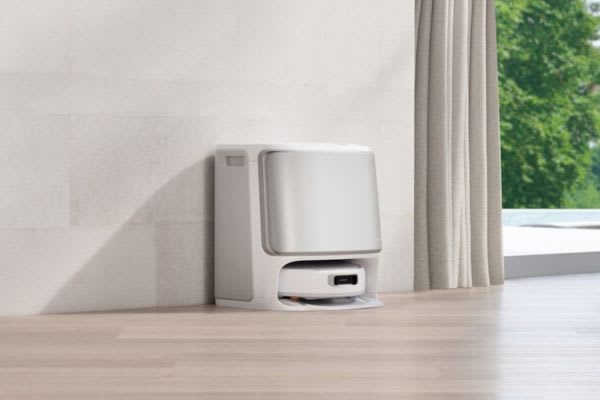
All-in-One Dock Keeps You Hands-Free
The AI-maintenance base station handles dust collection, mop washing, hot water sterilization, and even auto-drying. That means less maintenance between floors—just lift and go.
Bottom line: If you're tired of switching settings, untangling brushes, or guessing which mode to use, an advanced model like Narwal Flow turns multi-floor cleaning into a seamless, automated experience. The more levels your home has, the more value a smart system delivers.
Do I need separate maps for each floor?
Yes. For a robot vacuum to clean multiple floors reliably, each level should have its own saved map. Run a full mapping session on every floor, name the maps clearly (e.g. “Upstairs bedrooms”, “Downstairs living”), then manually select the correct map in the app before each clean or let supported models auto-switch.
What’s the best way to use a robot vacuum in a townhouse?
Treat your townhouse like any other multi-level home: map each floor separately, keep the dock on the main living level, and set floor-specific schedules (e.g. living area daily, bedrooms every other day). Make sure Wi-Fi covers all levels and add no-go zones near stairs, cables, and tight landings.
Smarter Robot Vacuum Cleaning on Multiple Floors
Multi-floor cleaning doesn’t need to be hard work. Once you’ve set up maps, docks, and schedules, a good robot vacuum can quietly take over the heavy lifting—floor by floor. The next step is choosing a system that’s actually built for multi-level homes.
Narwal designs robot vacuums to handle real-world layouts, from double-storey houses to compact townhouses, with advanced mapping, floor-type recognition, strong suction and real-time mop washing. You simply move the robot, tap the app, and let it clean every level while you get on with your day.
If you’re in Australia, explore the full range at Narwal Australia and compare the best robot vacuums for multiple floors to find the perfect match for your home and lifestyle. Flexible payment options are available too, including Afterpay, Zip and Klarna—so you can enjoy a smarter, hands-free clean now and pay later.


